(note: I originally wrote this in 2006 and had it posted elsewhere)
Sometime in 2005 I bought a Realistic MG-1 via EBay, because I wanted an analog synthesizer to play around with. I’d seen an analog synth at the Trading Musician which I thought was awesome but too expensive. I don’t remember now what it was, I think a Boss or a Roland or something? Anyway, not being able to find it again I opted for the MG-1, as it was cheaper than a Moog Rogue but nonetheless very similar to one.
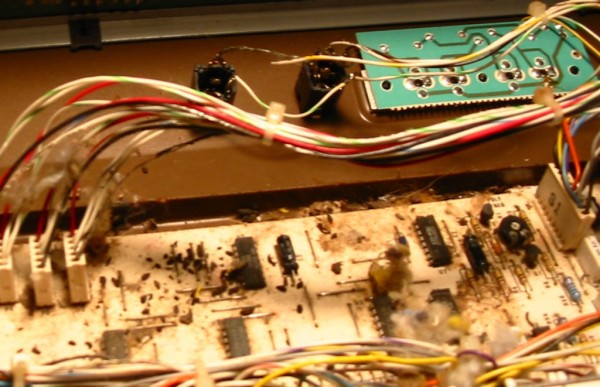
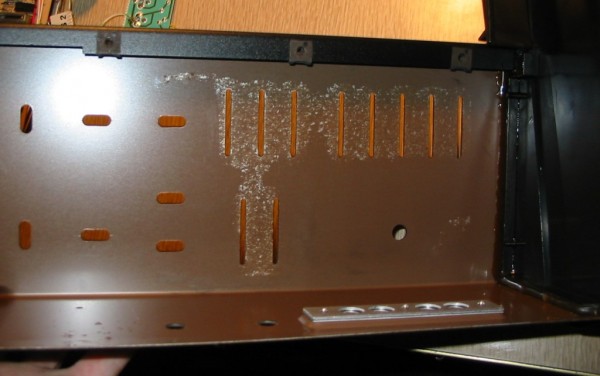
The MG-1 I got had been described on ebay as having a broken key, but otherwise in good condition. When it arrived I noticed it did indeed have a broken key, but it also smelled bad and didn’t work very well. Notes would drift wildly when played, so it was pretty much not usable as an instrument. Upon opening it I discovered that it was full of fuzz, hair, and mouse “leavings” (both types). Apparently a mouse had lived in it for a while, who had also bitten off the insulation from a lot of the wiring. The synthesizer also suffered from a well-documented problem that MG-1s often have of foam decomposition, where foam material used to keep dust out of the controls had turned into sticky crap.
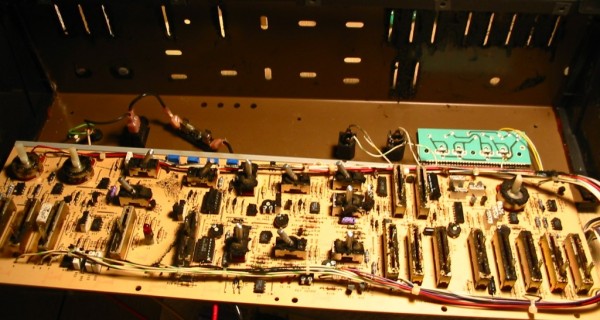
This was going to be a big project. I had already overspent a bit to get the MG-1, so I was determined to get it working. The first thing was to clean it. I spent a couple of months taking the whole machine apart and cleaning it. I scraped as much of the goop off as I could and used windex, which is probably not the best thing to use, but it worked.
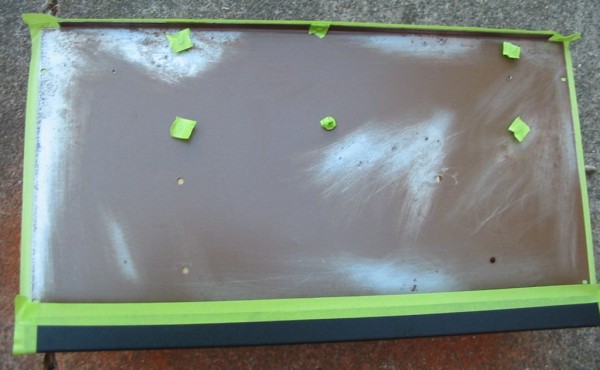
Much of the metal case had surface rust inside it, so while I was at it I washed and sanded it, and then painted over it with rustoleum. If I recall correctly I ran a lot of the non-electrical parts through the dishwasher, and washed the plastic keys in the sink. I repaired the broken key with a piece of light plywood.
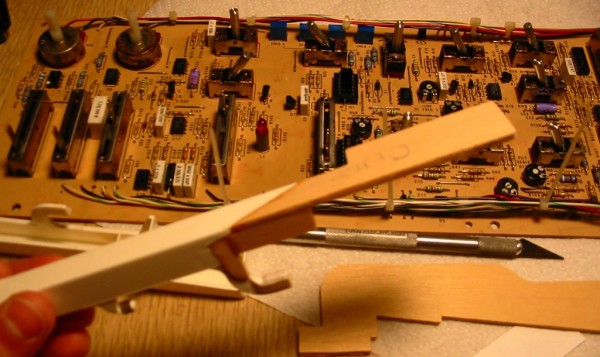
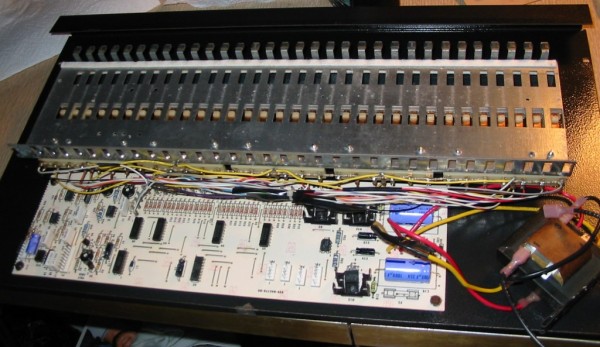
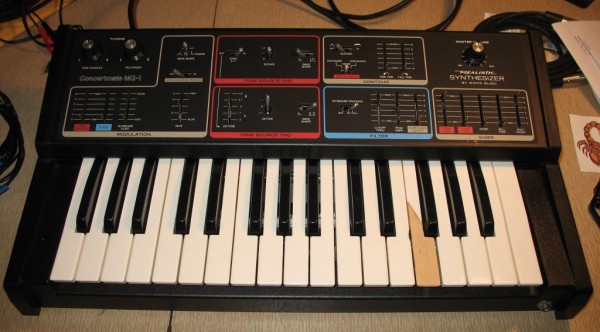
the broken key, now fixed. You can see some of the upper PC board in the background has been cleaned as well as I could get it
Instead of replacing the chewed-up wiring, which would have been a pain, I just used electrical tape to reinsulate the damaged bits. The mouse hadn’t severed any of the wires, and they’re color-coded. Where do you get color-coded wire? I don’t know. I’m also lazy.
I cleaned the pots and sliders with Radio Shack contact cleaner, and put the machine back together. I plugged it in, and.. well, it sounded exactly the same as before I started. But it smelled better. At this point I bought user and service manuals, and schematics, from an online resource, and then I stopped.
I left off the project in October, and put the Moog away so I could pretend it wasn’t there. A couple of weeks ago I decided I’d accumulated enough test equipment to finish, and spent several nights going through the calibration procedures, which weren’t really that hard. It took some figuring out what “Electrical 0” is and how it differs from “Electrical Center,” plus some of the filter calibration section is still confusing to me, but in the end the unit works much better. Finally, I sprayed the controls with CAIG DeOxit, which I hear is supposed to be really good at deoxidizing and preserving electrical contacts. The only problems left with the synth are as follows:
* notes will continue to play, and then drift in pitch, after you let go of the keys, though at a much reduced volume. It had done this before, though the pitch drift was much faster. The output at this point might actually be within the normal signal-to-noise ratio, which I have yet to test.
* if the keyboard tracking is set to continuous, and you play a note, the note will very slowly drift up in pitch. If you hold the note down, it will stay in pitch just fine. This is an improvement over the unit’s pre-calibration condition where the notes would drift all the time, and at a faster rate, though it might still not be correct.
These issues suggest that some components might need replacing, though the problems aren’t severe enough that the synth is unusable. I plan to make some recordings with it now, at which point I’ll have a better sense of whether I should pursue buying parts.
Update: 9/6/2006
I’ve now made some recordings with the MG-1, and I’m liking it quite a lot. It actually stays in tune very well, from day to day even. That’s probably because the temperature in my basement is pretty constant.
Update: 12/19/2011
Some tracks from my last solo album feature the MG-1:
Apartment
[wp_bandcamp_player type=”track” id=”1113293225″ size=”short” bg_color=”#FFFFFF” link_color=”#4285BB”]
Tiger Nightmare (in the bass)
[wp_bandcamp_player type=”track” id=”4155129344″ size=”short” bg_color=”#FFFFFF” link_color=”#4285BB”]
Some MG-1 links:
This site here helped a lot while I was doing the restoration: http://www.kleonard.com/gear/mg1.htm
Naturally there’s a Wikipedia page now:
http://en.wikipedia.org/wiki/Moog_Concertmate_MG-1



I found your site after looking for info on restoring MG-1s. I read your post and clicked on your songs to have a listen. Nice stuff! If your website wasn’t called what it was I would’ve thought the music was some lost Shins songs or something. You sound incredibly like James Mercer. And that ain’t a bad thing.
Take it easy.
Thanks Arturo, glad you like the songs. I hope the article helps, let me know if you have questions, I might remember some tips.
I checked out your site as well — that’s a great studio you work at, very cool.
Hey, I’ve messed around with a few of these MG-1’s and heavily modified a few. Nice job on the key repair! I was curious though if you could describe to me what “Electrical 0” means. That has always bugged me and there isn’t much info about it on the internet. Thanks!
Hi Patrick, I’ll have to double-check but if I recall, electrical 0 meant a value of 0 volts or 0 ohms, while electrical center was the physical center of a pot or fader (as in, turning the pot to 12 o’clock or moving the fader to the middle of its sweep). I’ll need a few days to check again then I’ll post what I find.
What kinds of mods have you done?
I remember trying to test the resistance of the cutoff freq. slider while doing that but I don’t think it worked out all that well. Here is a video of one I did not too long ago with a list of the mods: http://www.youtube.com/watch?v=X_FYj7HeQdc
I’ve been poking around at mine to see what other things I can pry out of this synth, presently whether or not it’s possible to add a pot to slow down one modulation source relative to the other.
I’ve had my MG-1 since the mid 90’s. It’s kind of like one of those relatives you love, but want to strangle sometimes. It will be working great, then the next time you turn it on, its gone all wonky.
drifting notes, horrible noise, no sound at all,etc.
Generally for me, pulling the wire harnesses off their connectors and reseating fixes most problems, waiting for the weather to change fixes others.
Currently I use it in my cover band (WHEN it works lol) to make the “bomb” sounds in “You dropped a bomb on me” by the Gap Band. (Peak Empth up till it oscillates, long fall time) Also in general for those great analog bass tones.
Thanks for the note Cris