
I don’t think this is a particularly rare guitar amplifier, but I’m not finding much online about it. So here’s my bit to add.
My friend Amo was moving and he suggested to me that I buy his amp for cheap. So I did, what a deal — I got his Silvertone 1484 head and a 4×12 Marshall cabinet for not much at all. Both worked but were kind of trashed. Apparently they survived a car crash.
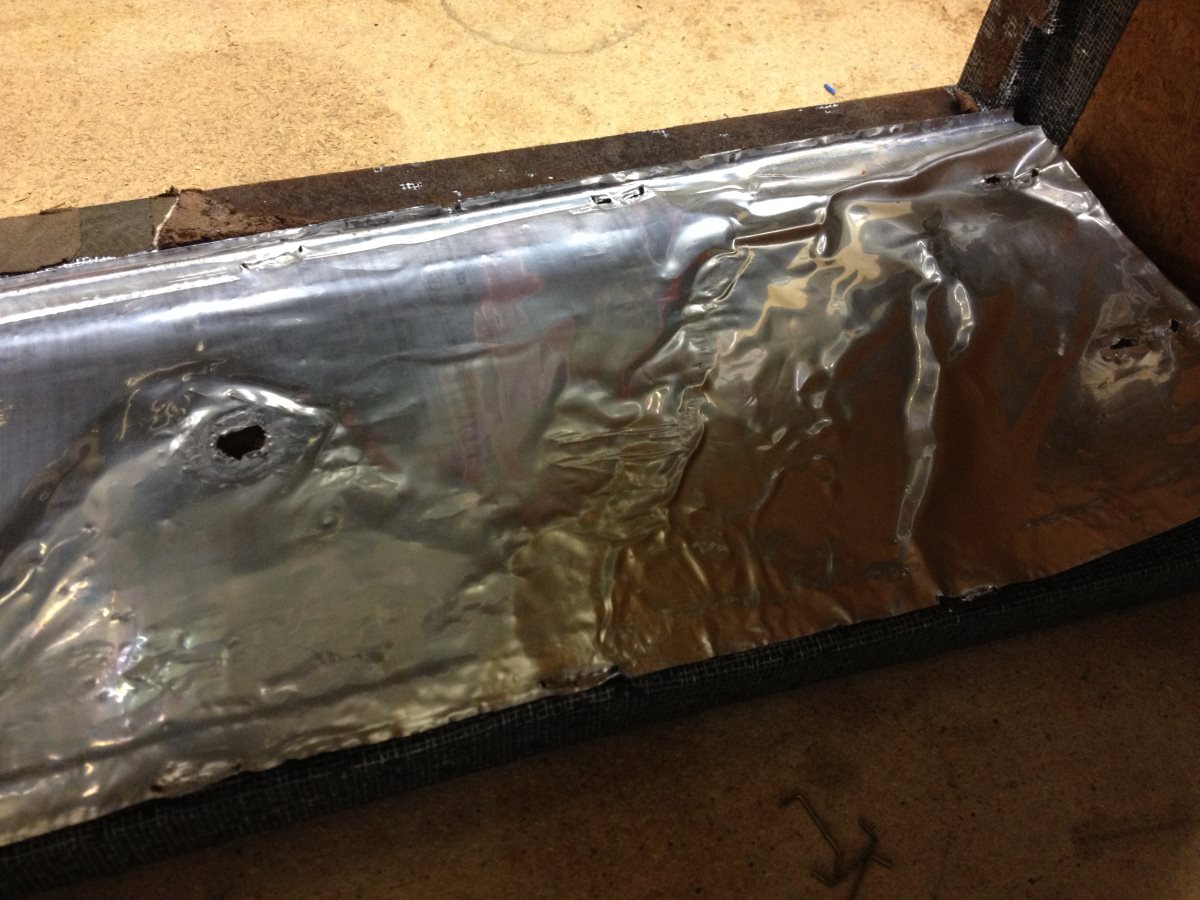
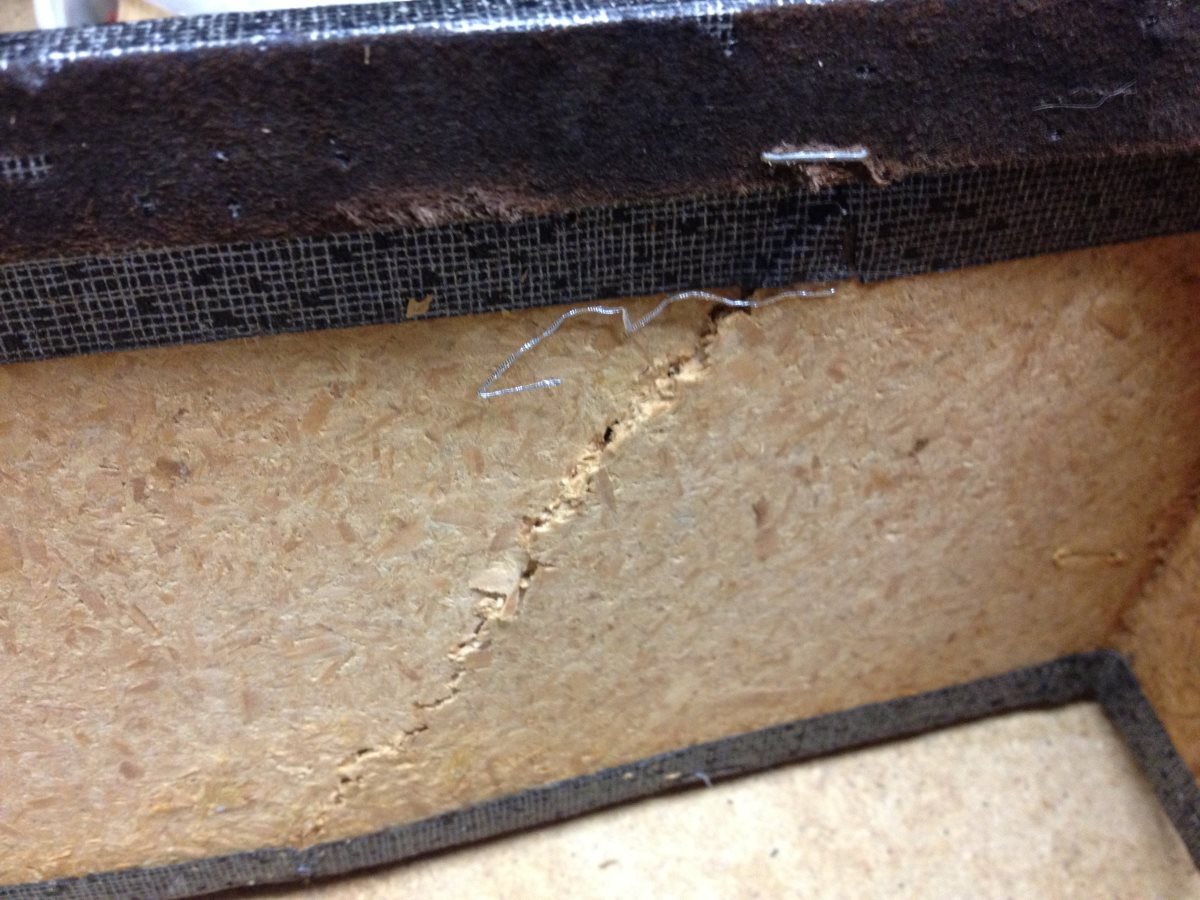
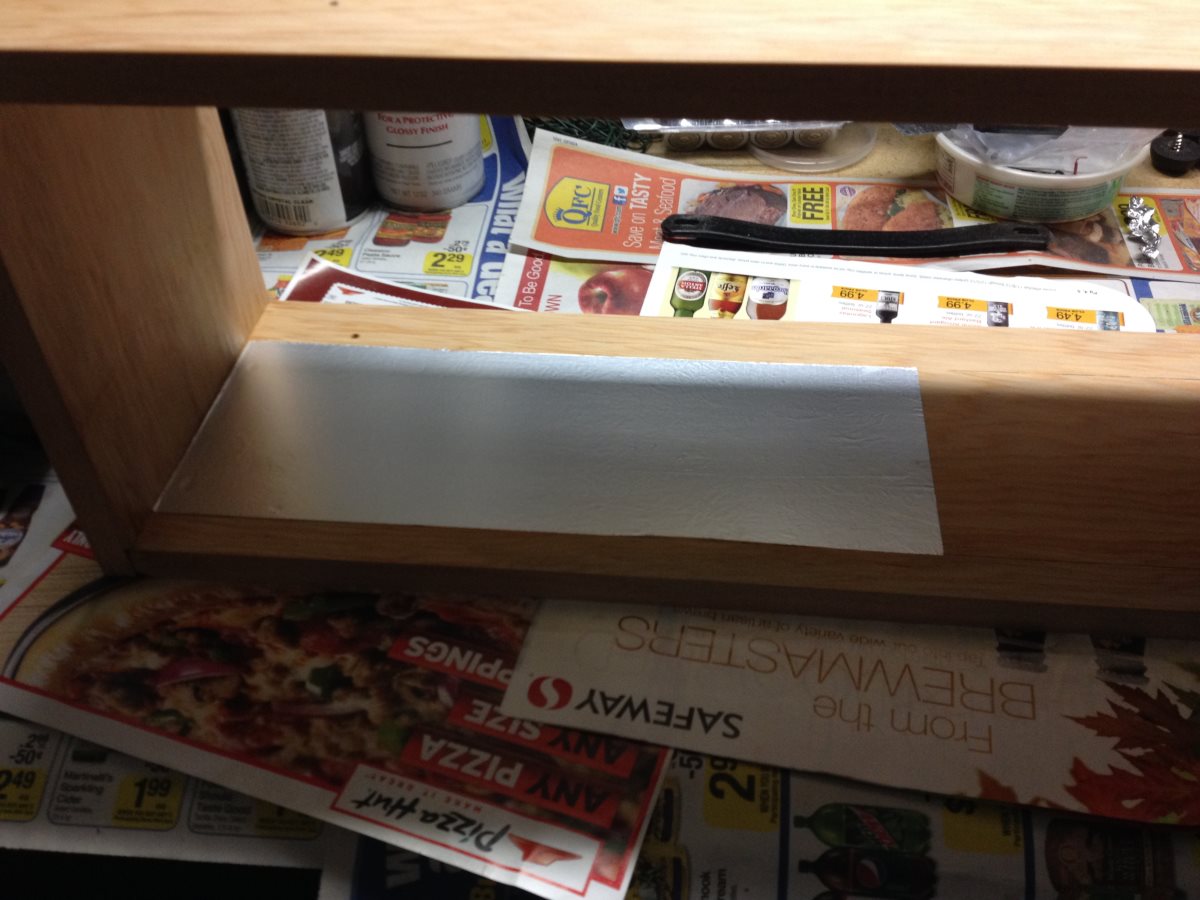
The head was bent out of shape, like this:
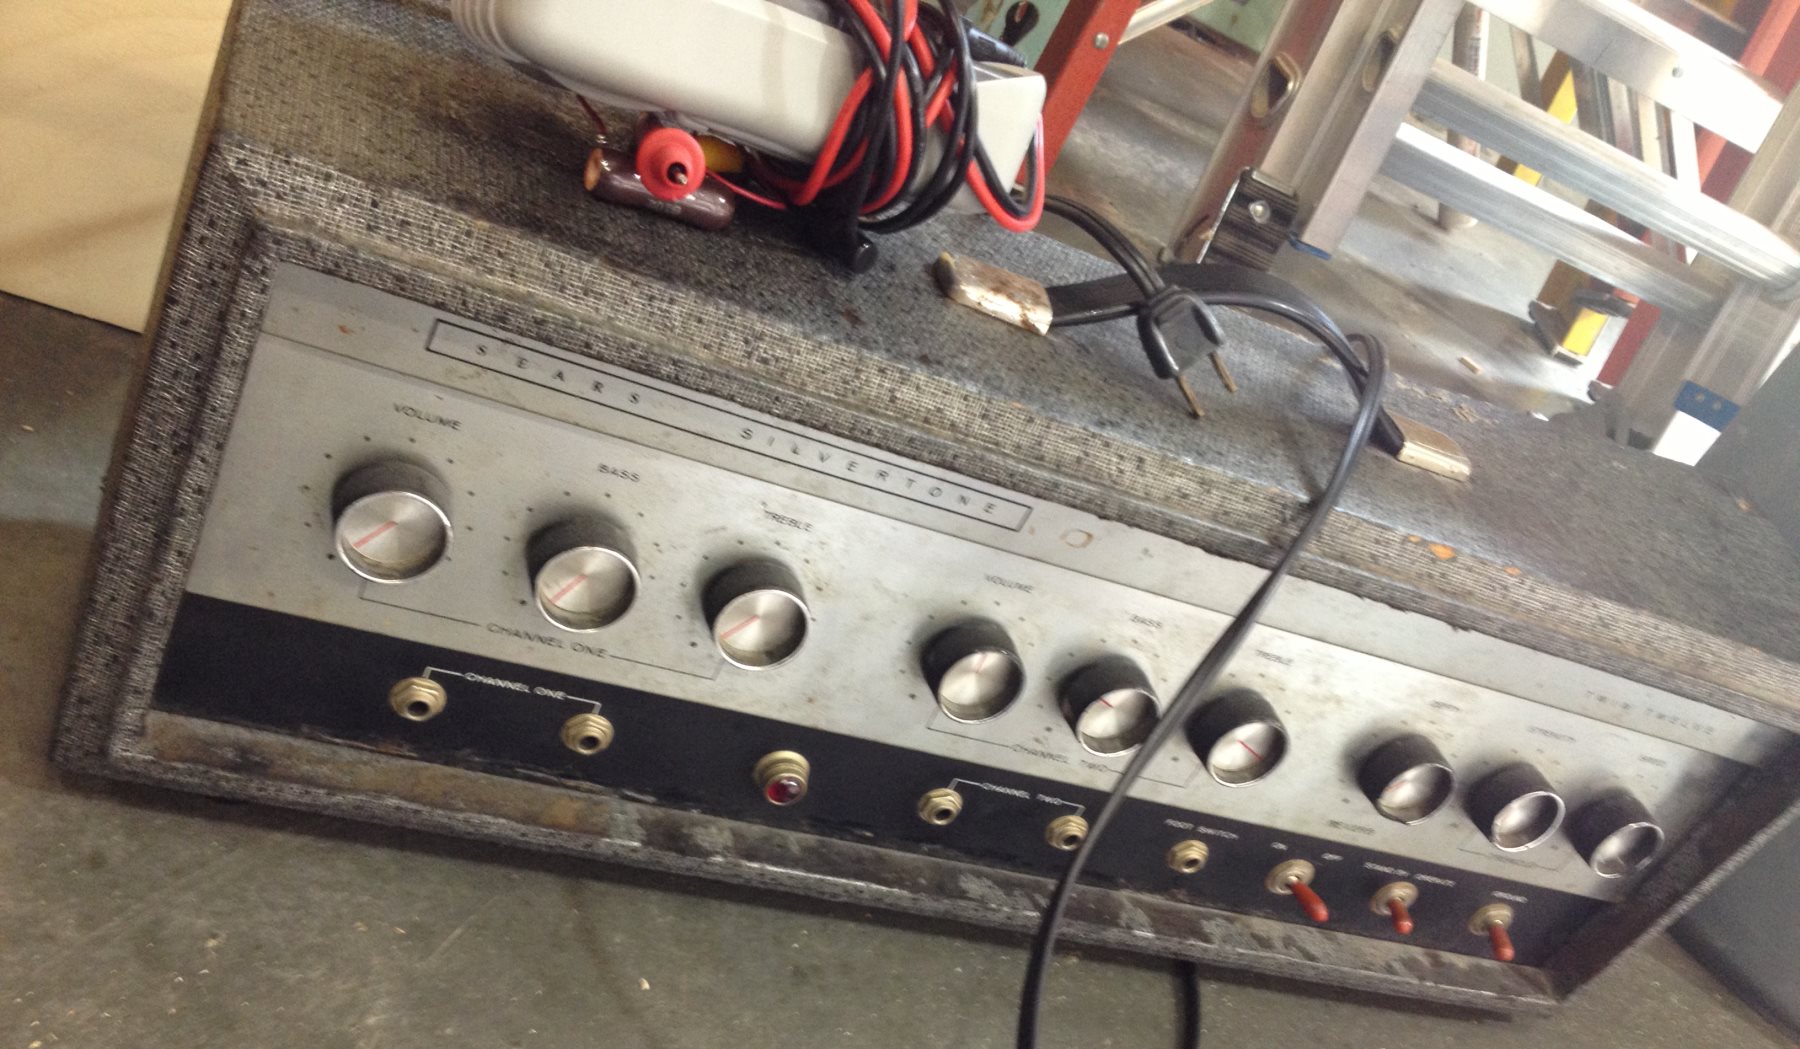
Despite its appearance it worked pretty well, and I played it all the time. But it looked so… sad, all beat up like that. I wanted a new enclosure for it.
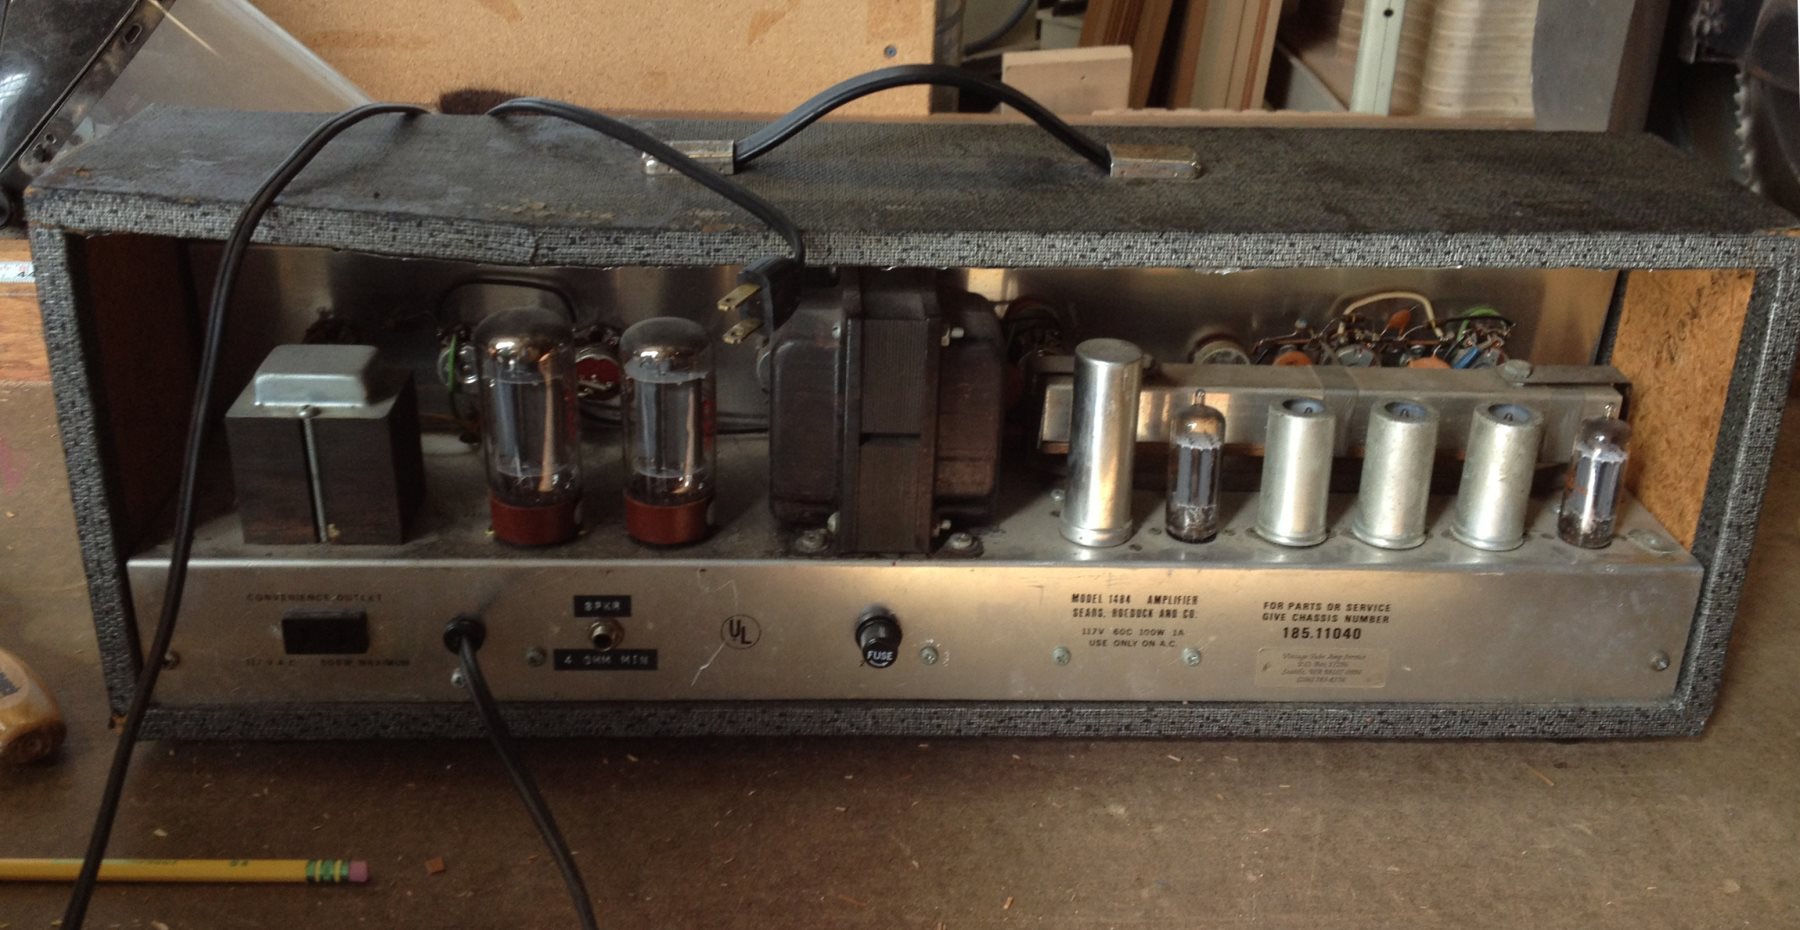
Some words on this amp: it’s from the 1960s, I’m not sure when. 1965, possibly. It was made by Danelectro? I think, for Sears, and it was originally paired with a 2×12 cabinet designed in such a way that the head fit inside it for transport and storage. Or possibly you were meant to play it that way, I don’t know. A lot I don’t know, maybe an astute reader can inform me.
One Sunday this last Spring I was hanging out with a friend who happens to be a woodworker, I suggested a trip to that place in Sodo or Georgetown, somewhere down there where they have used building supplies for sale. Second Use. We went and found some fir boards like this:
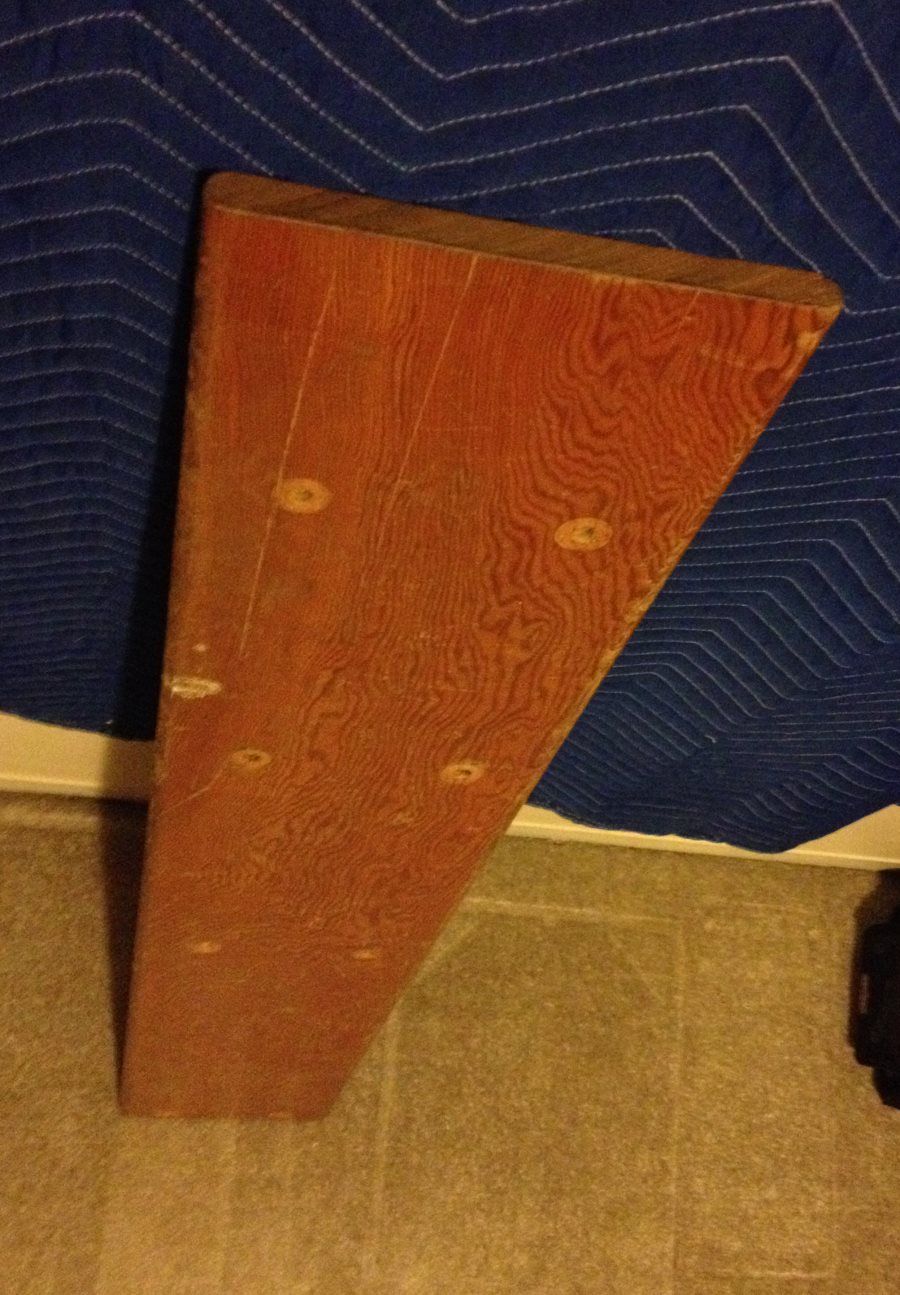
Which were reclaimed from the old bleachers at Eastmont High in East Wenatchee, Washington. As of this writing Second Use still has some in stock, go and get them.
I got 2 boards that looked to have enough wood between the bolt holes to make an enclosure (which they did, just barely, around 23″). Turns out I only needed one of them, but first I had to leave them in my basement over the summer and go do outdoor things.
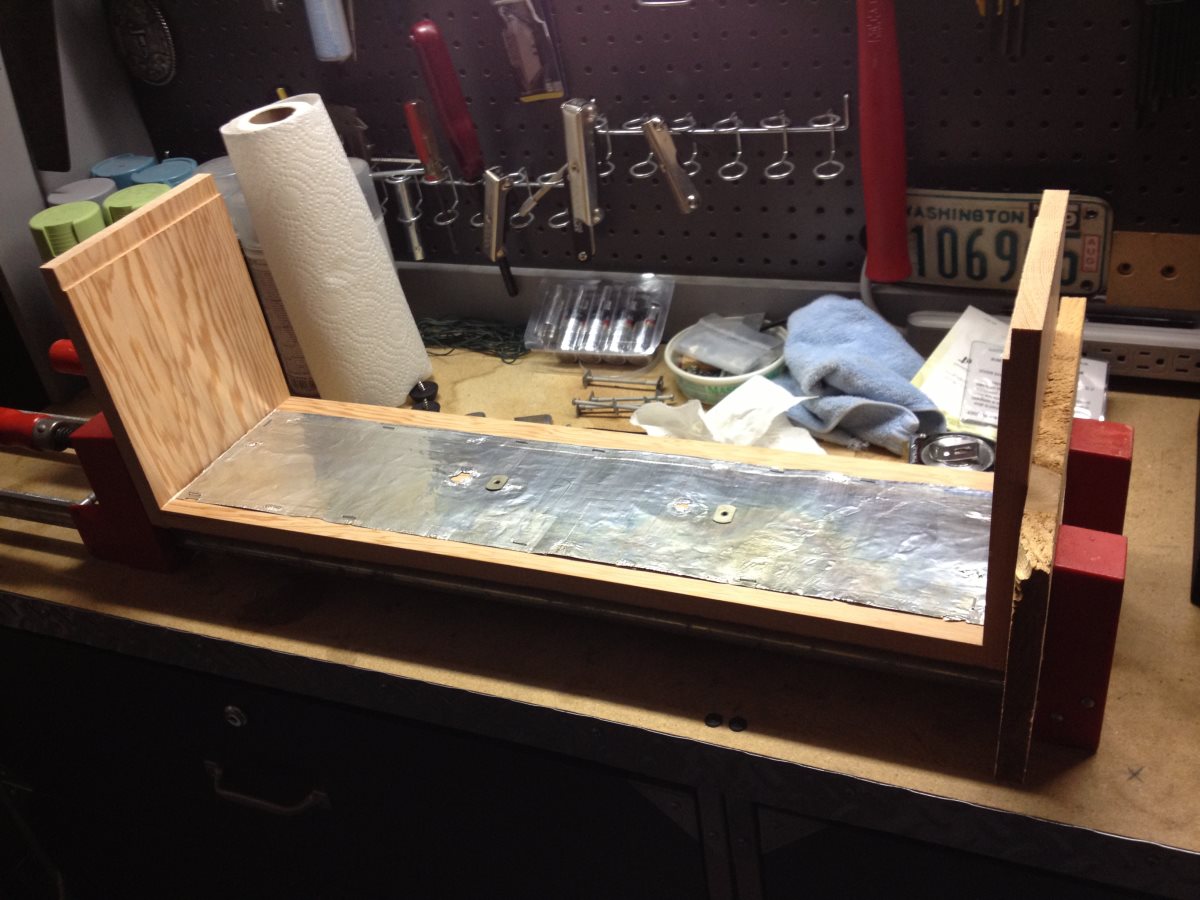
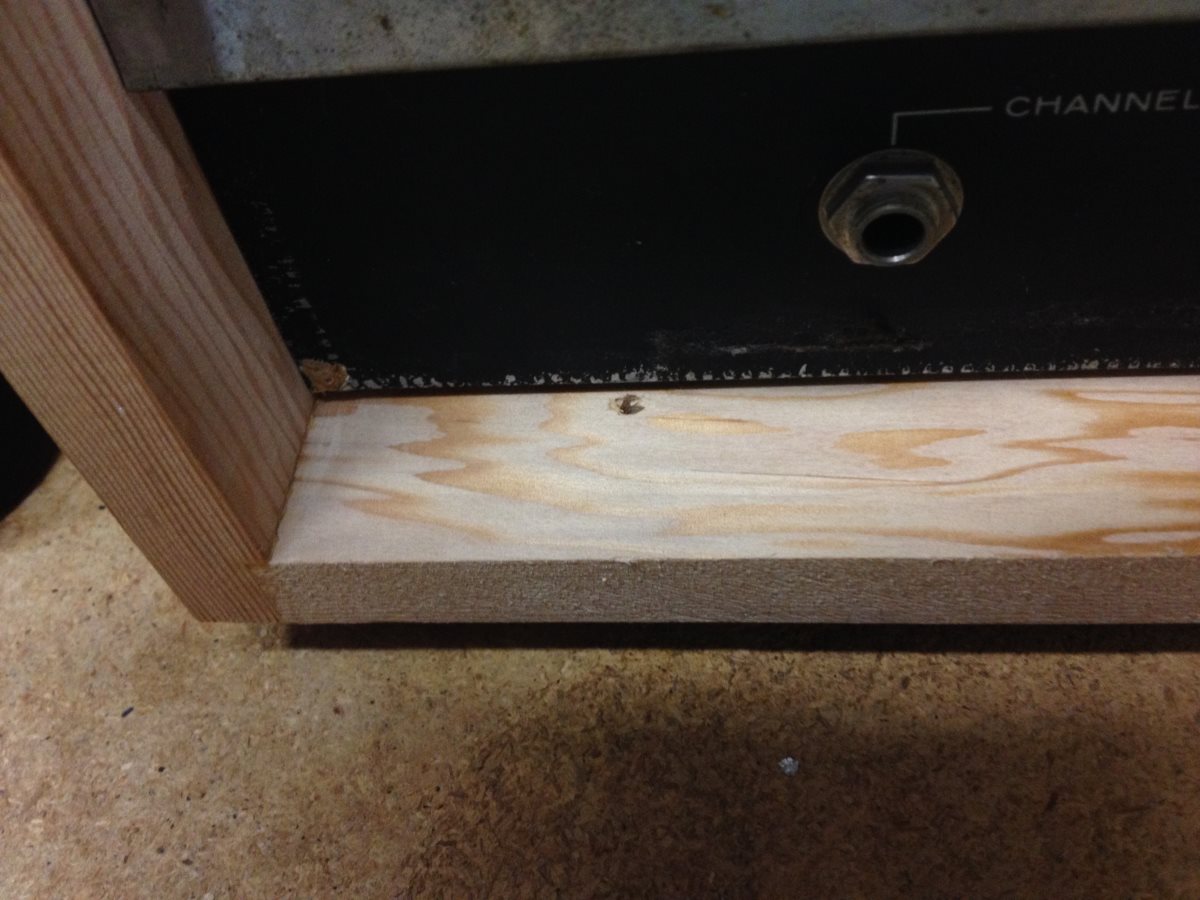
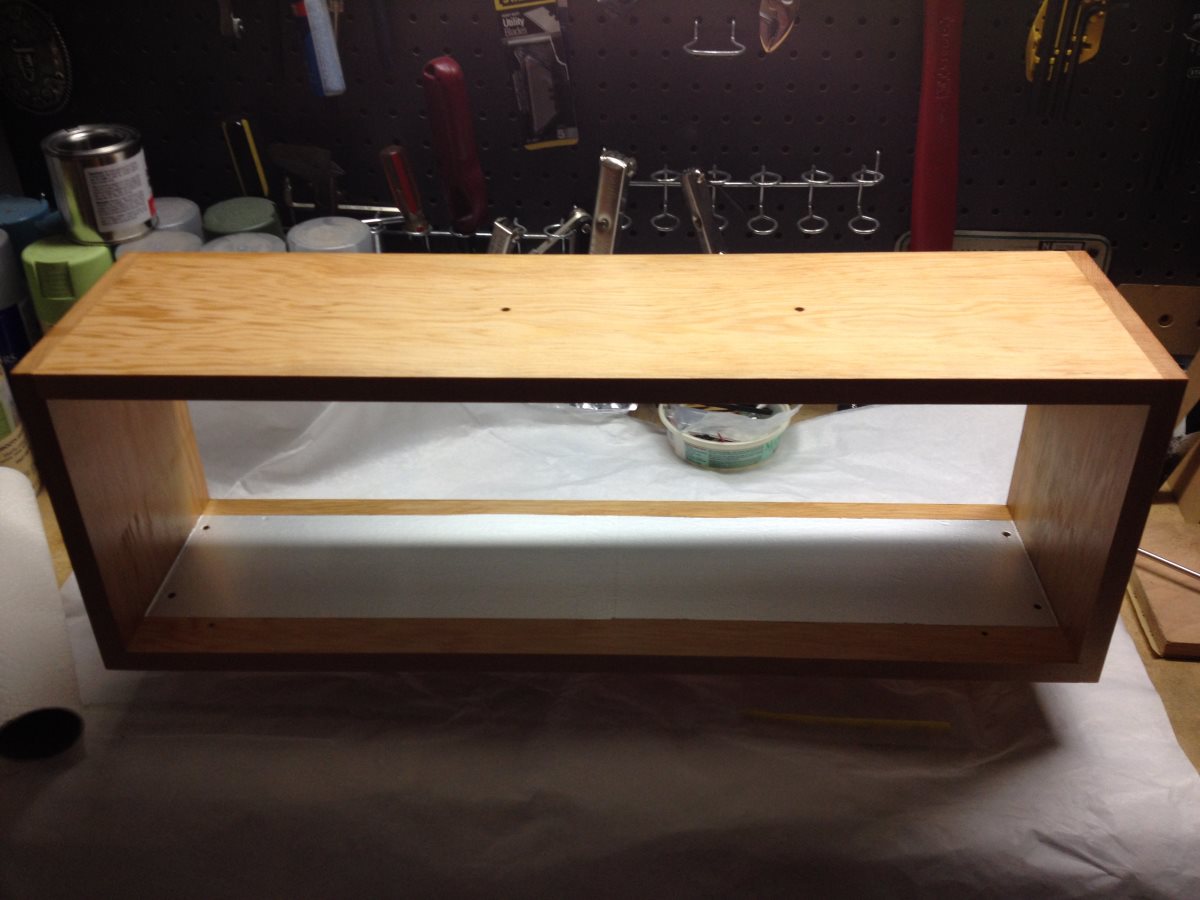
Picking it back up in September I enlisted the aforementioned friend to cut, join, plane, and sand the boards to an appropriate size and a new thickness of 5/8″. He even went so far as to cut some rabbits into the end pieces, and counterbores for the amp chassis bolts to accommodate the fact that these boards are thicker than the original particle/plywood.
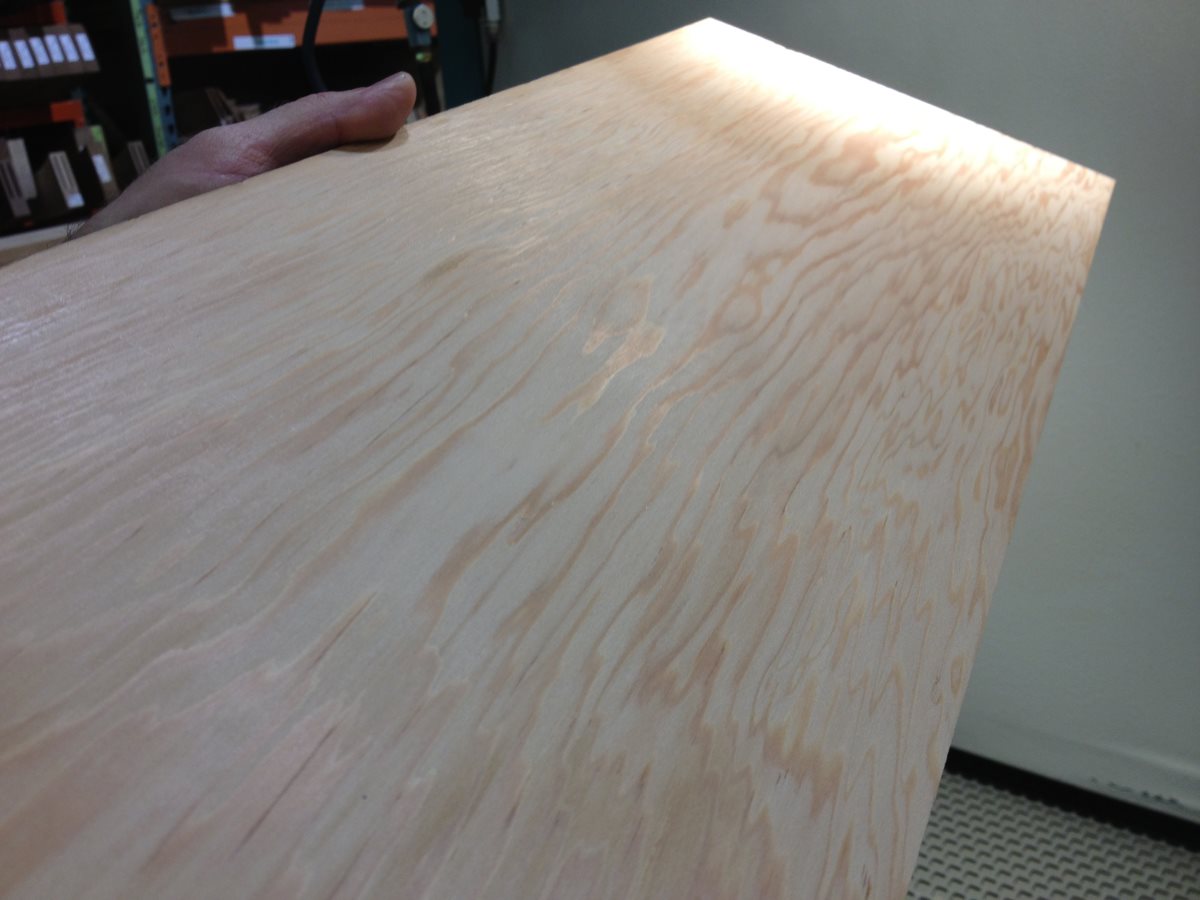
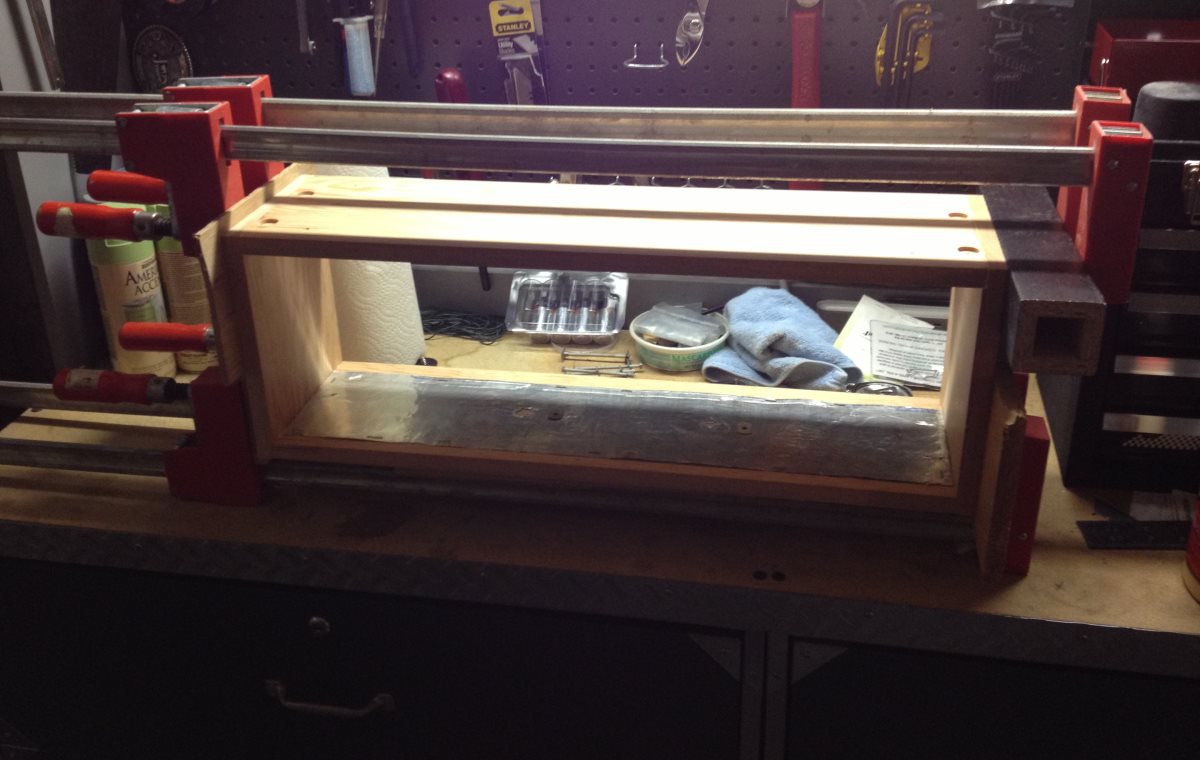
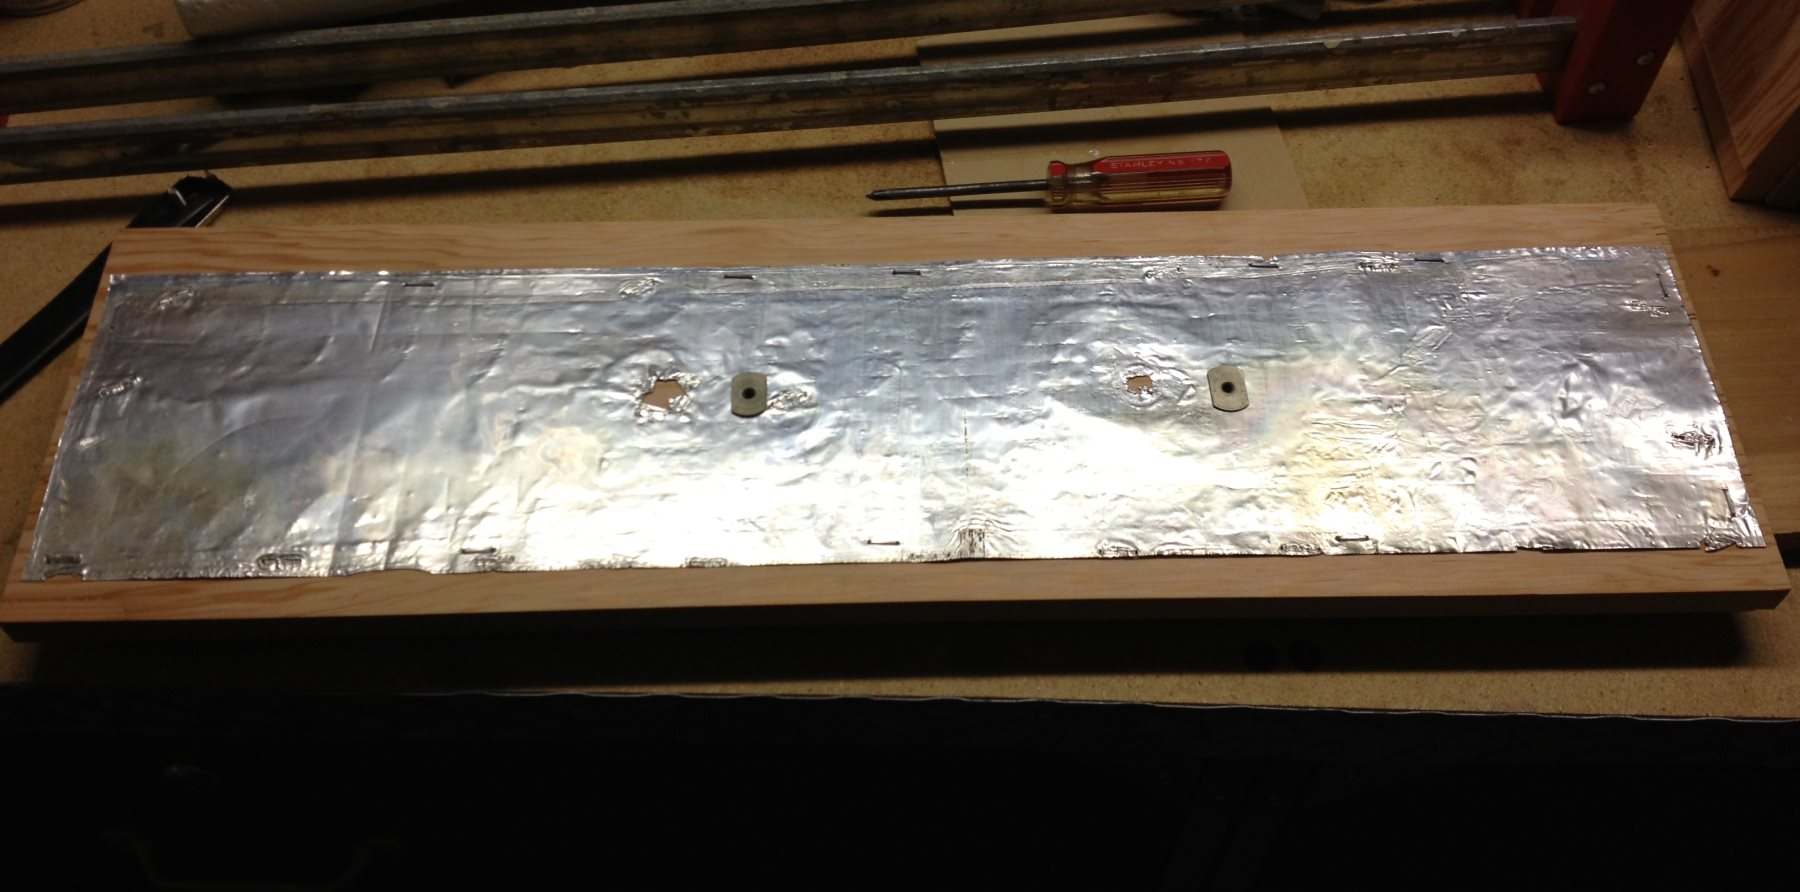
So really he did all the work. I just had to drill the other holes, glue the pieces together, sand to fit the chassis (it was tight), sand more for finishing, glue some aluminum foil for shielding, apply two coats of polyurethane, and assemble it.
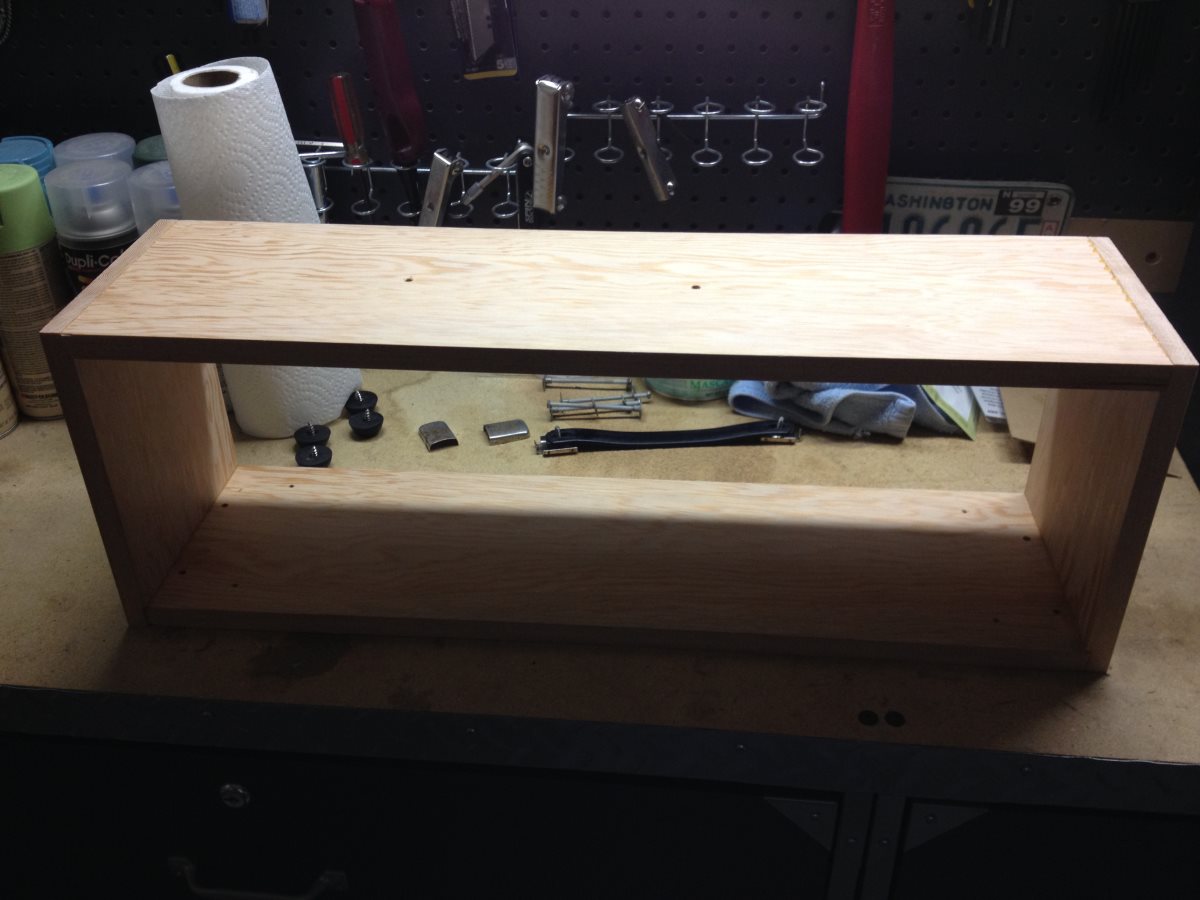
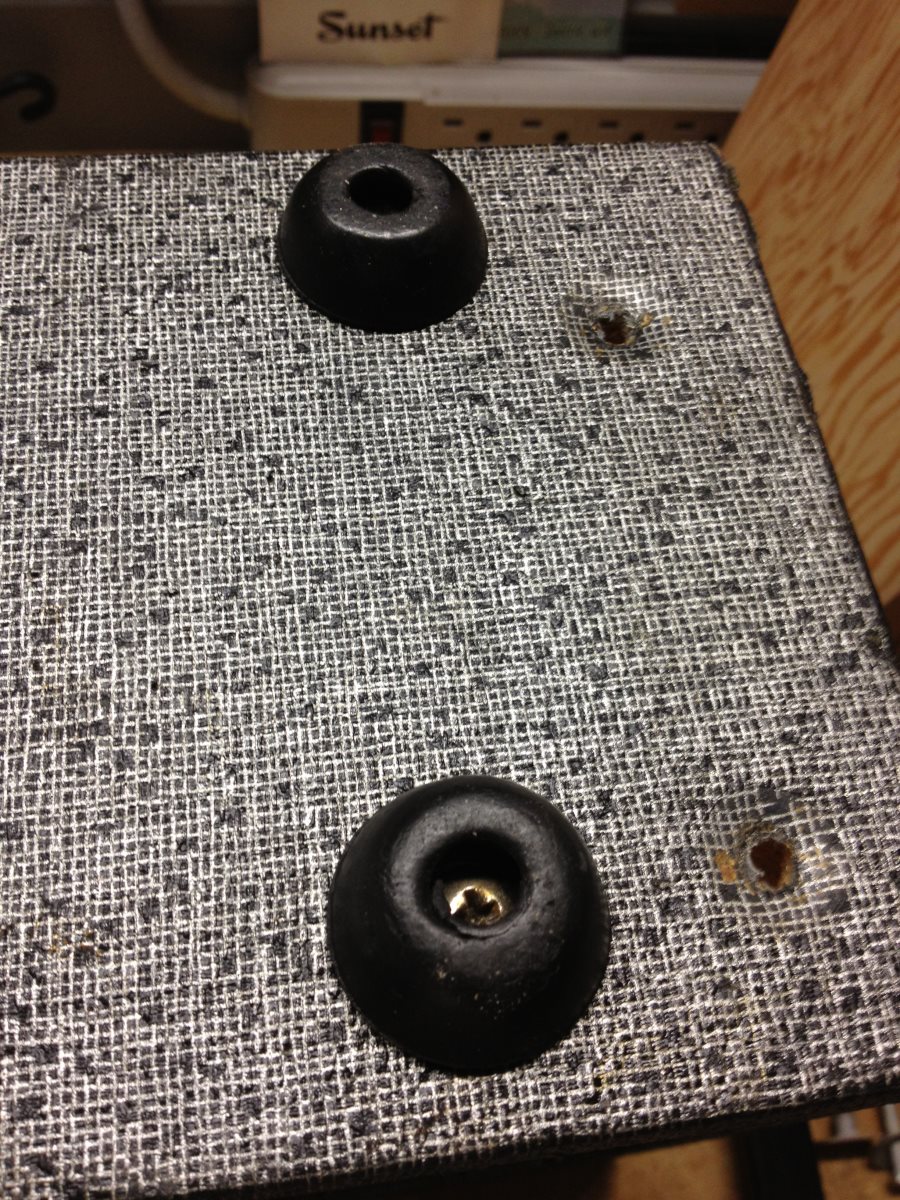
Here’s where I discover I shouldn’t have drilled the rubber pad holes all the way through… whoops.
Too bad I couldn’t really keep the original silver speckley Tolex vinyl covering. I did keep all the old hardware:

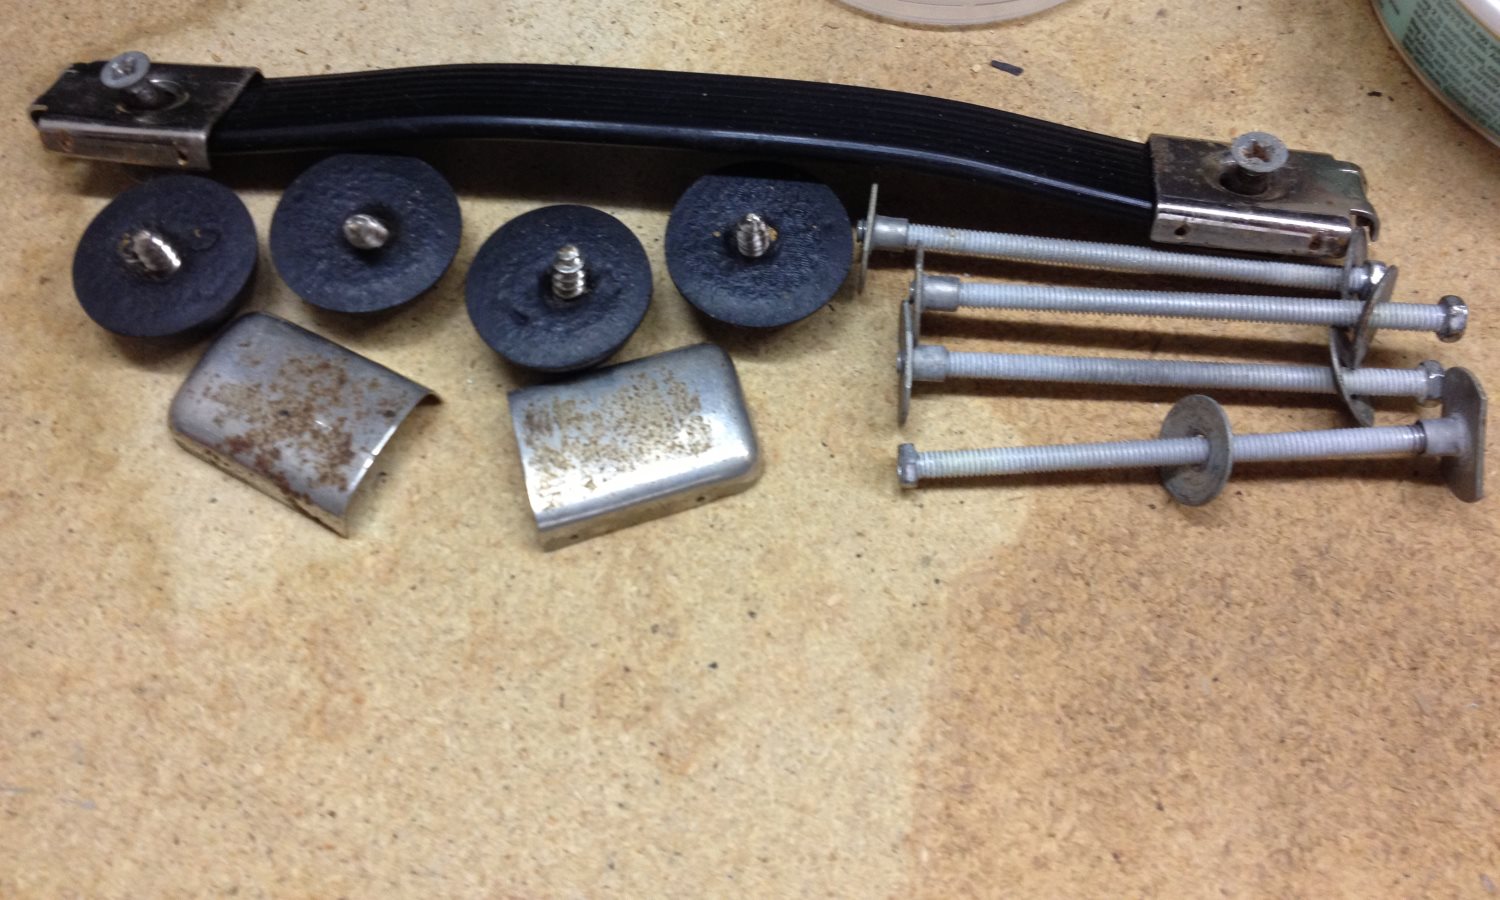
…including this metal shielding that covered the upper inside of the enclosure above the tubes. It also covered up the extent of the original enclosure’s damage, ouch.
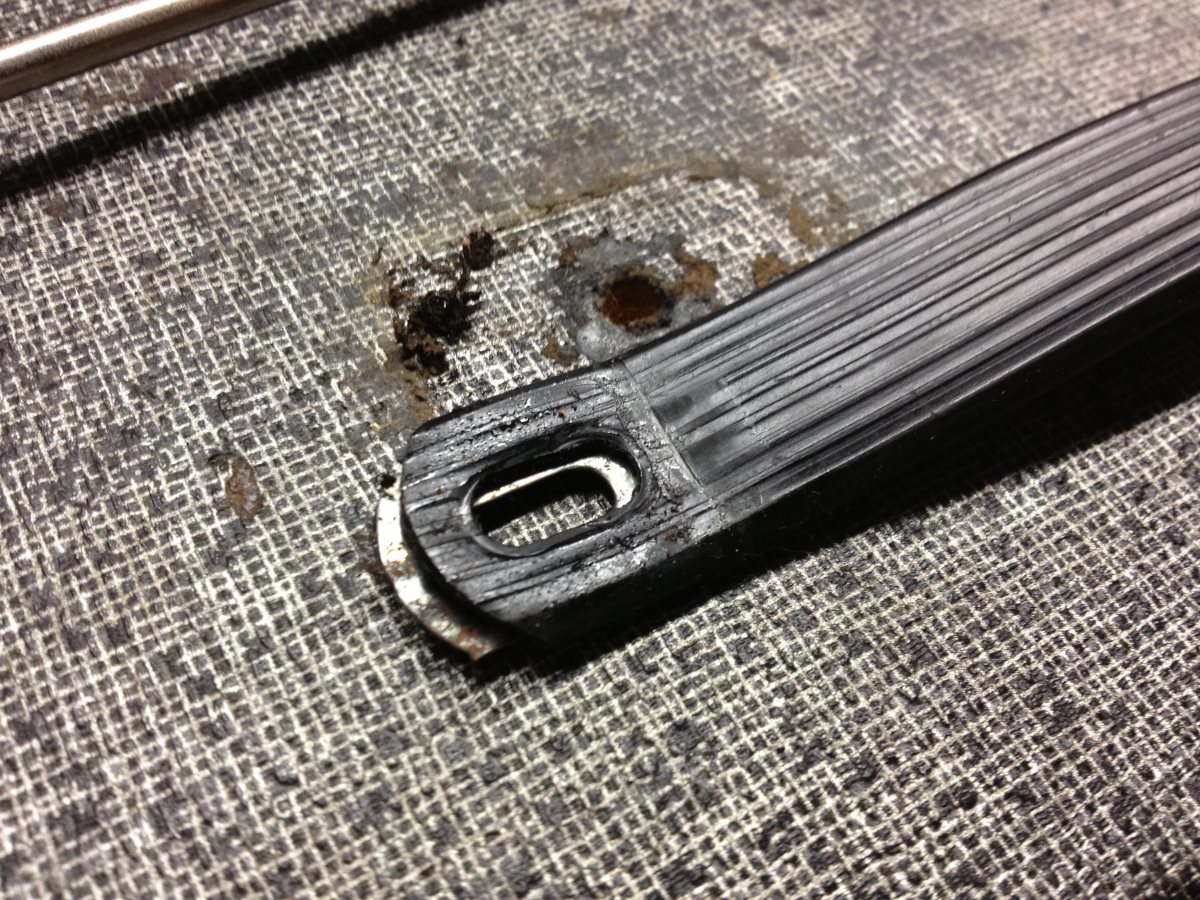
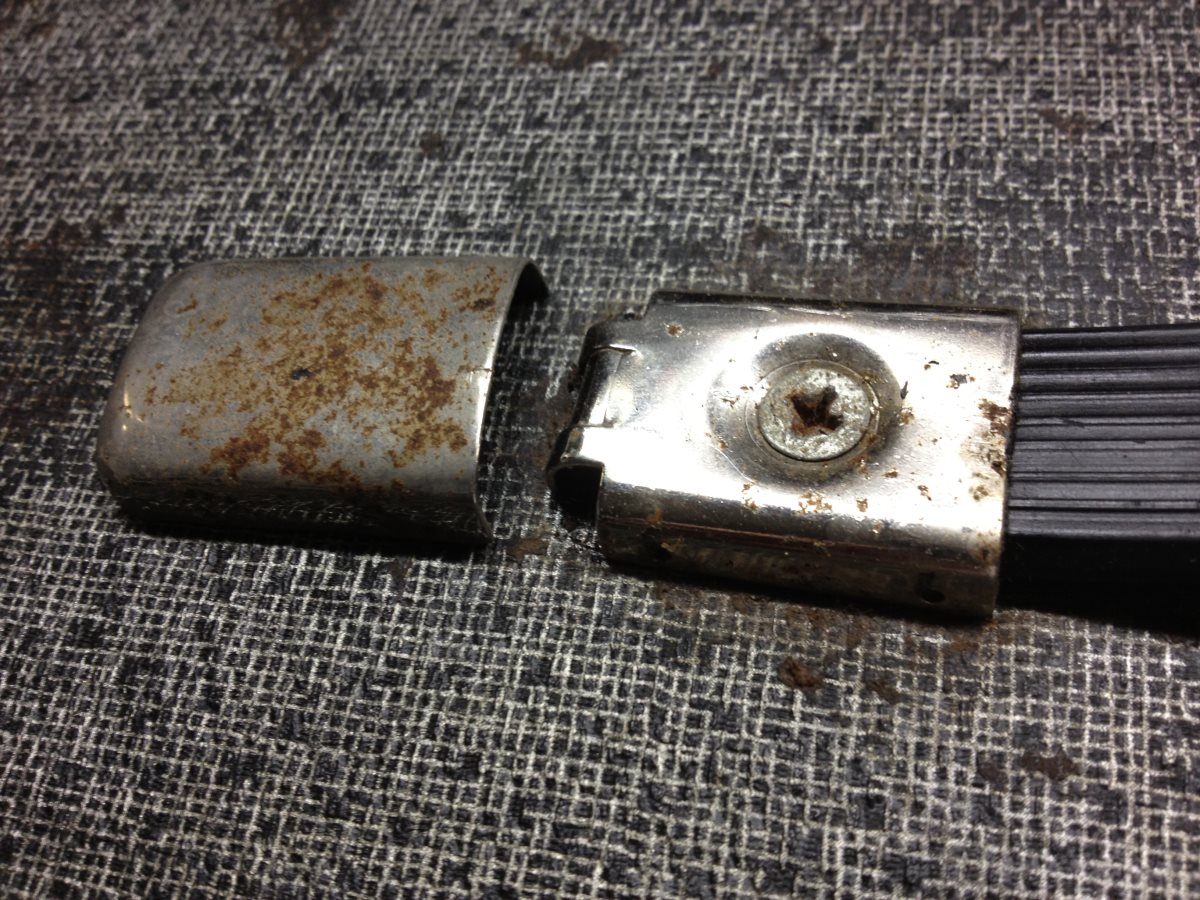
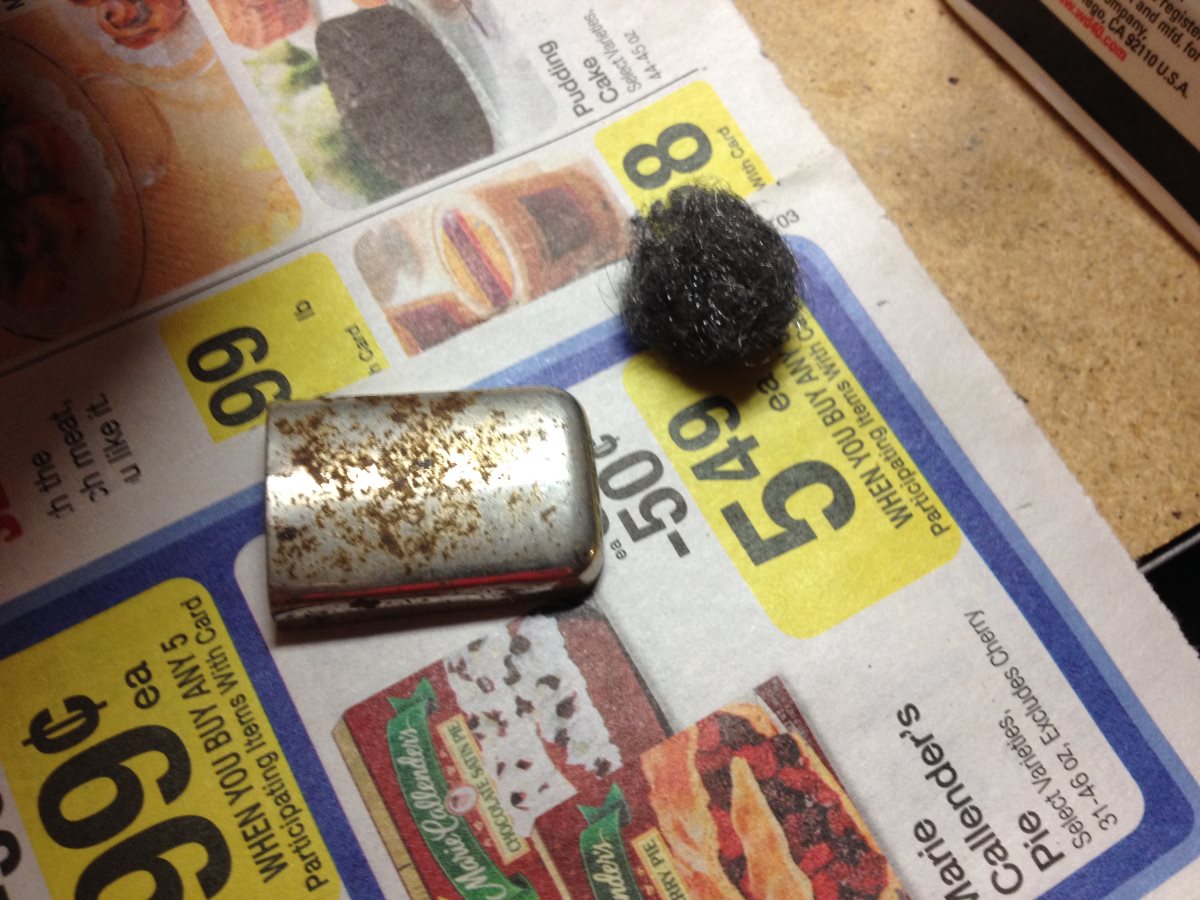
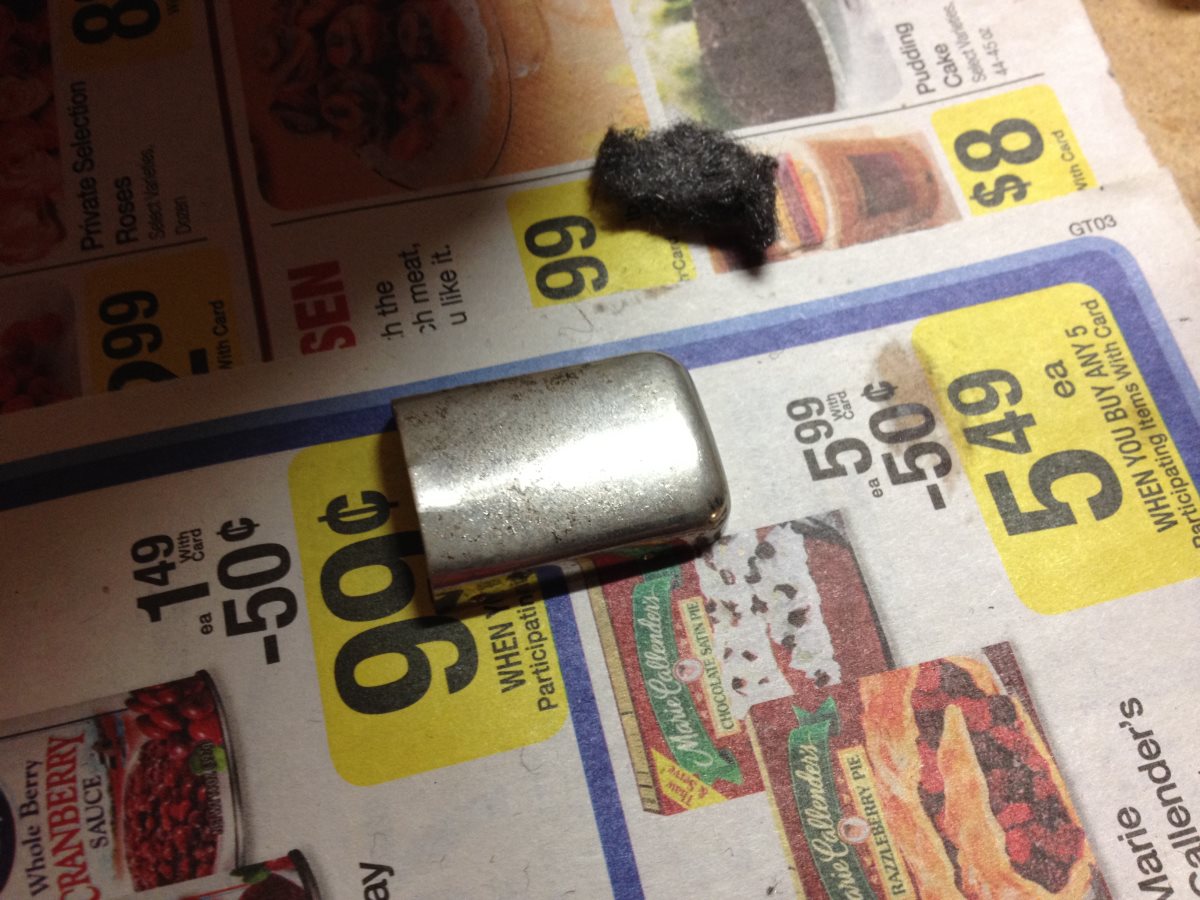
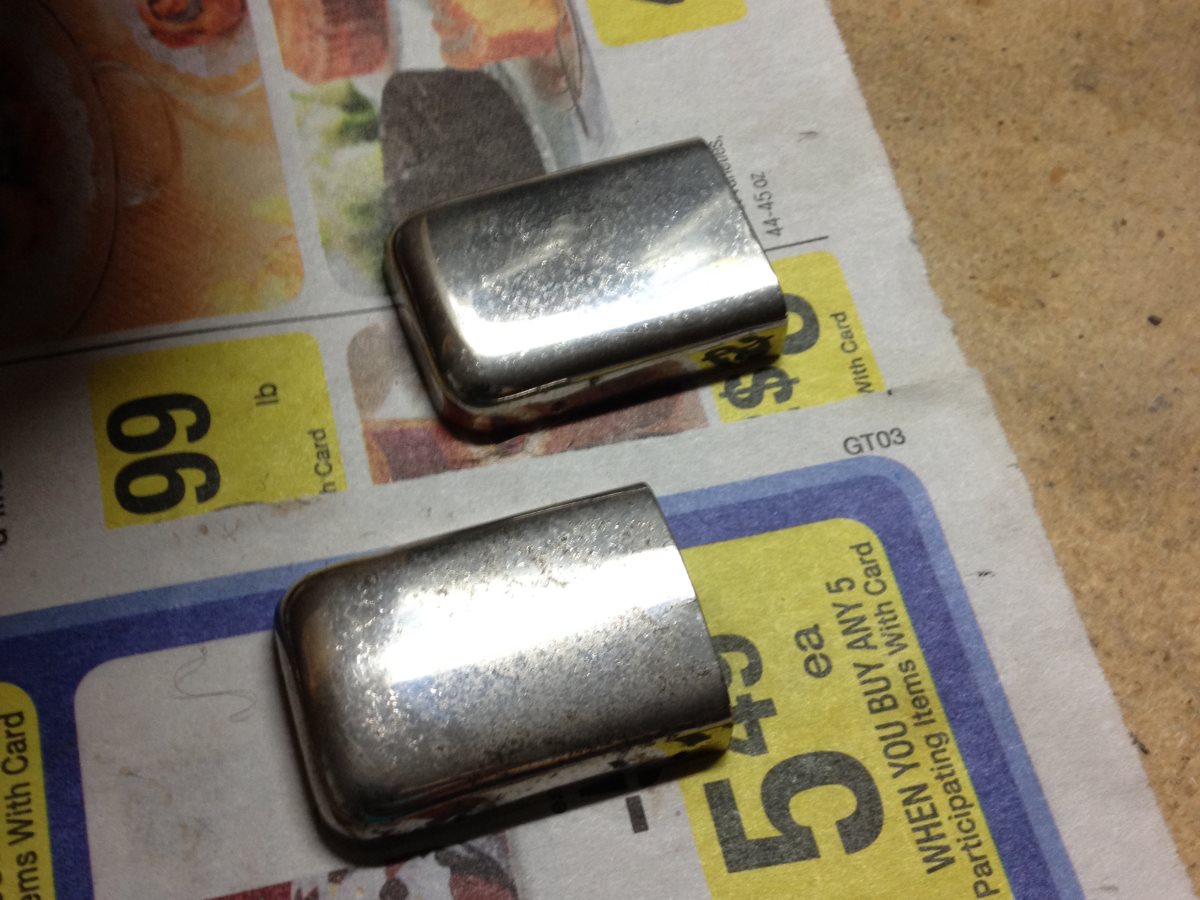
Along the way I polished the handle hardware, as it was rusty. This involved using fine steel wool with 3 in 1 oil, followed by Blue Magic metal polish. I learned that trick from YouTube.
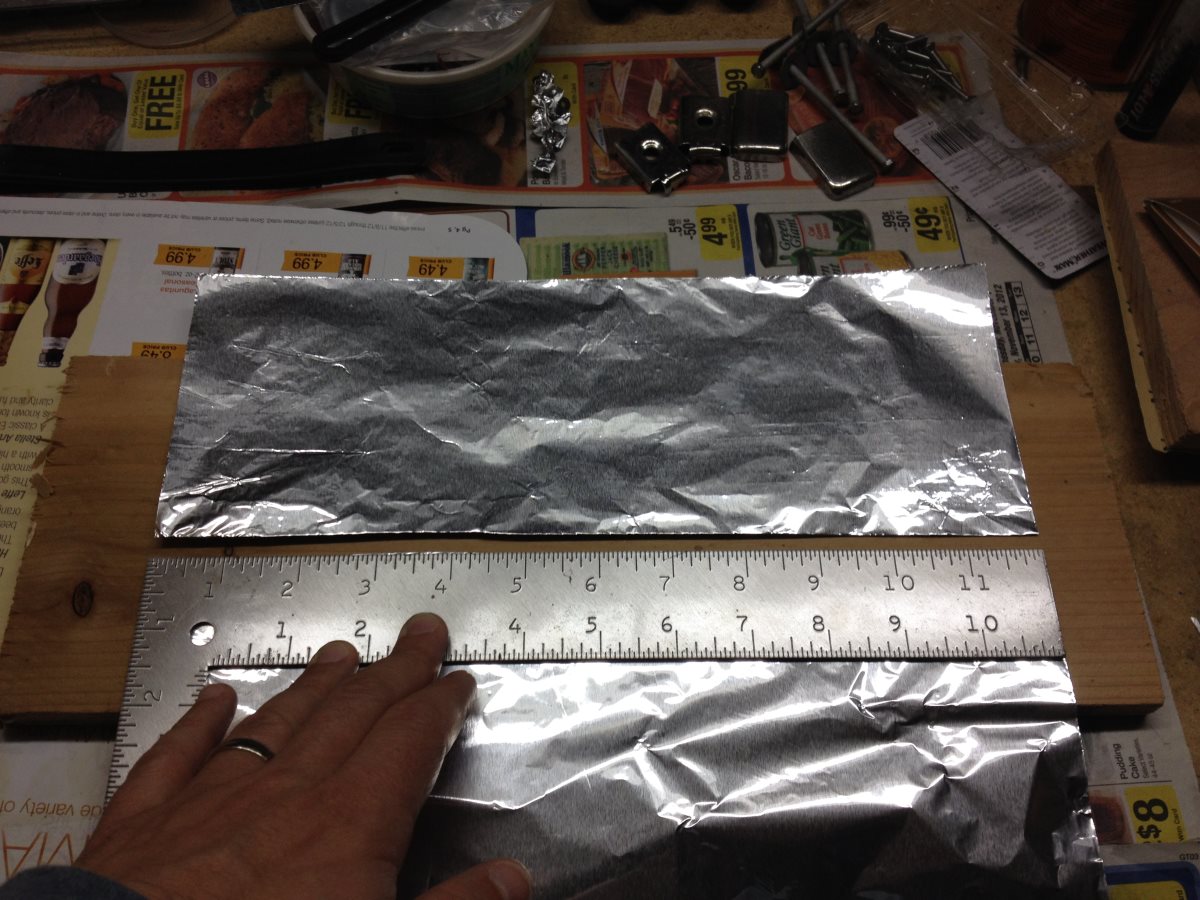
About shielding. I was going to use conductive paint but decided it would take too long (instructions require 3 coats with 24 hours between applications. I’m too impatient for that) plus it’s expensive. So I went this route, which I thought of after I’d already done the first coat of polyurethane. The foil is glued onto that first polyurethane coat, with the second coat on top of it. I should probably do a third, but that impatience thing is still operative.

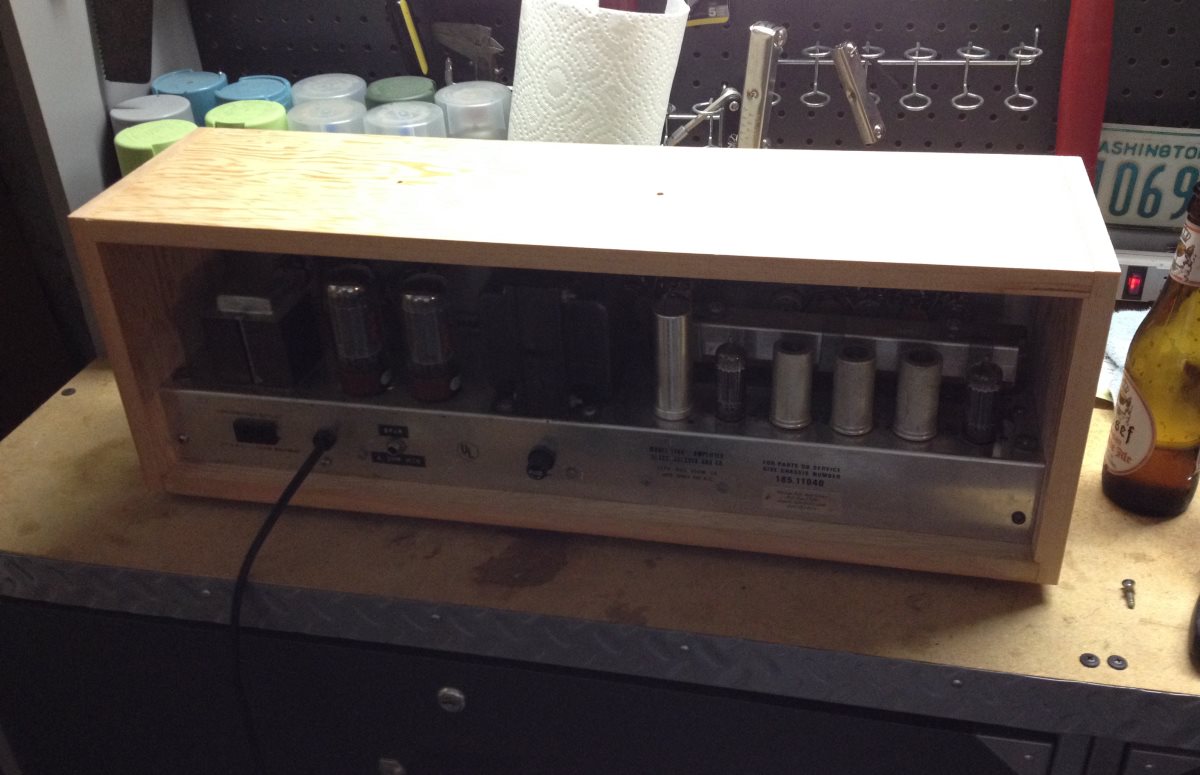
Final assembly. The head is heavier on one end than the other, and this was annoying on the original enclosure as the manufacturer placed the handle in the middle of it. I moved it about an inch to compensate for the uneven weight distribution.
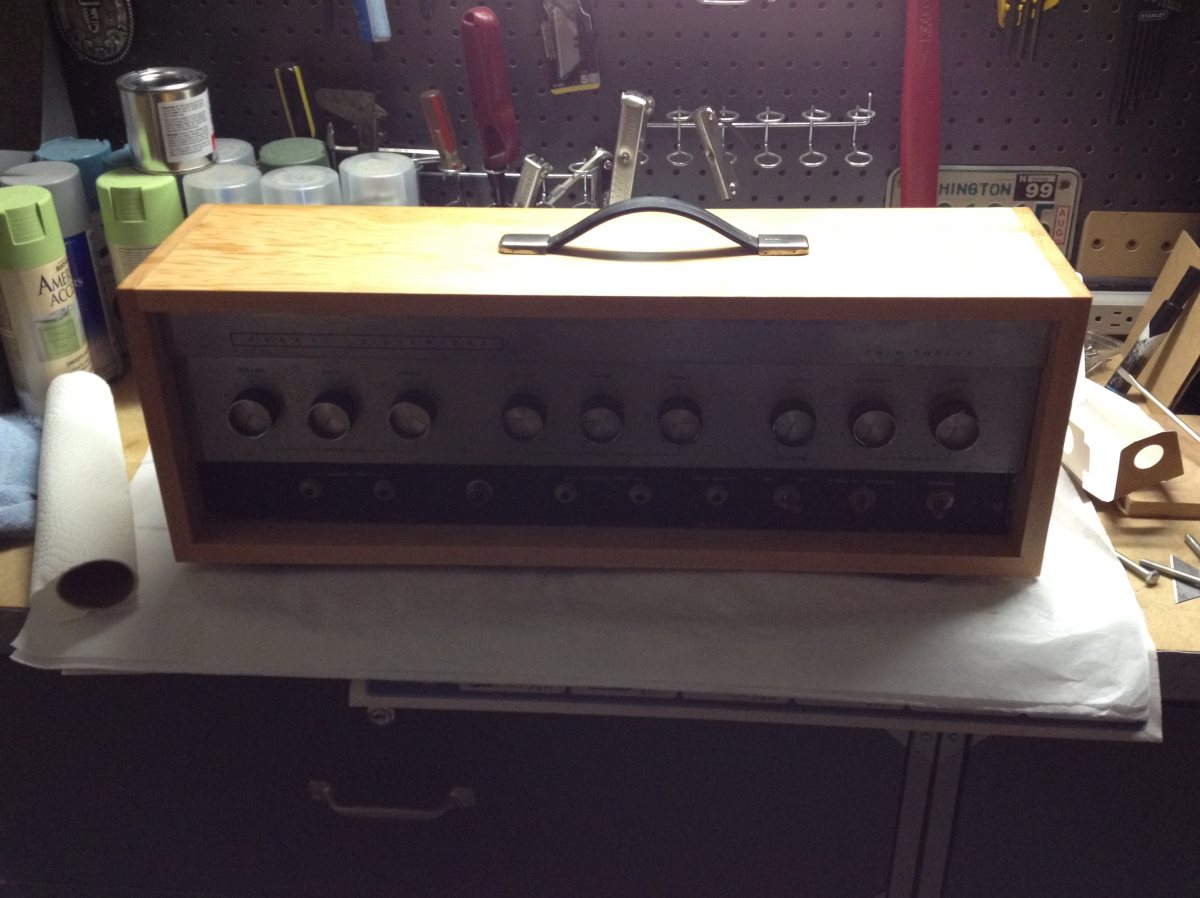
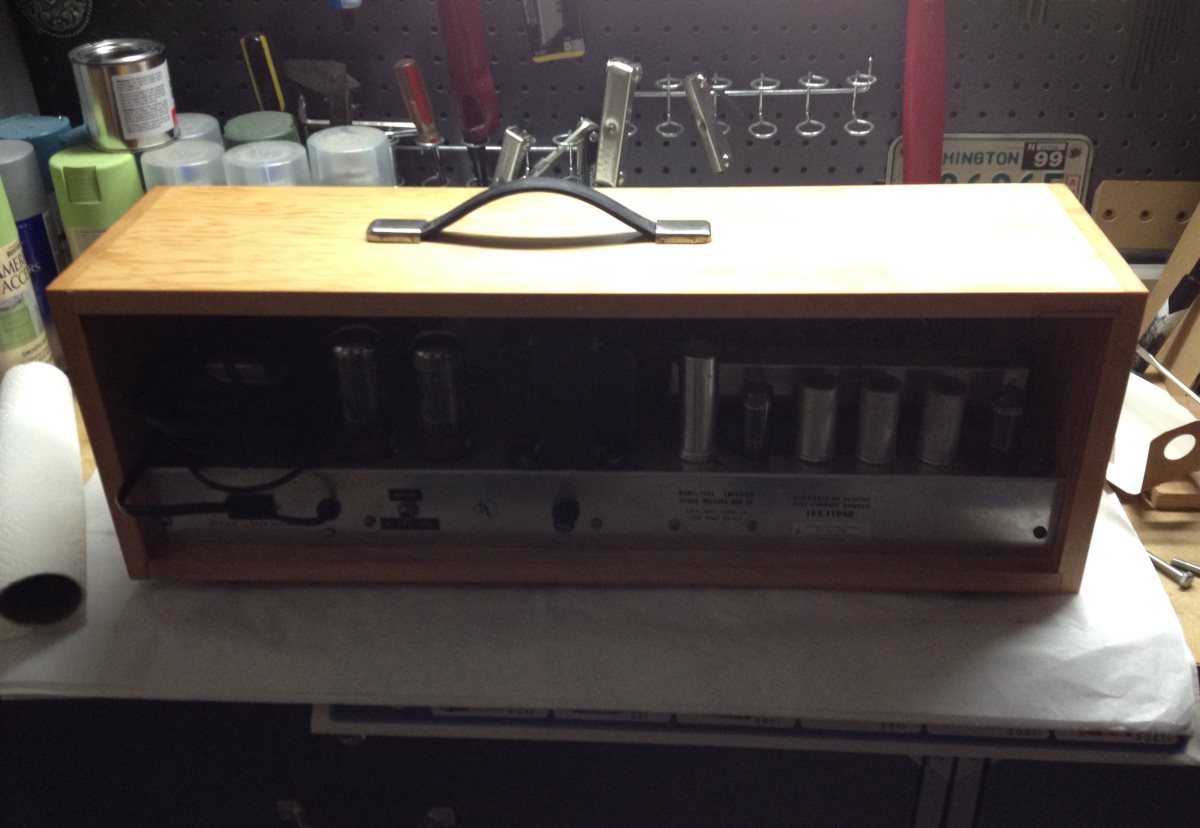
And then I tried it out. It sounds exactly the same as before, as you would expect (I did spray some DeOxit to fix crackling in the pots). It looks nice and I like it.

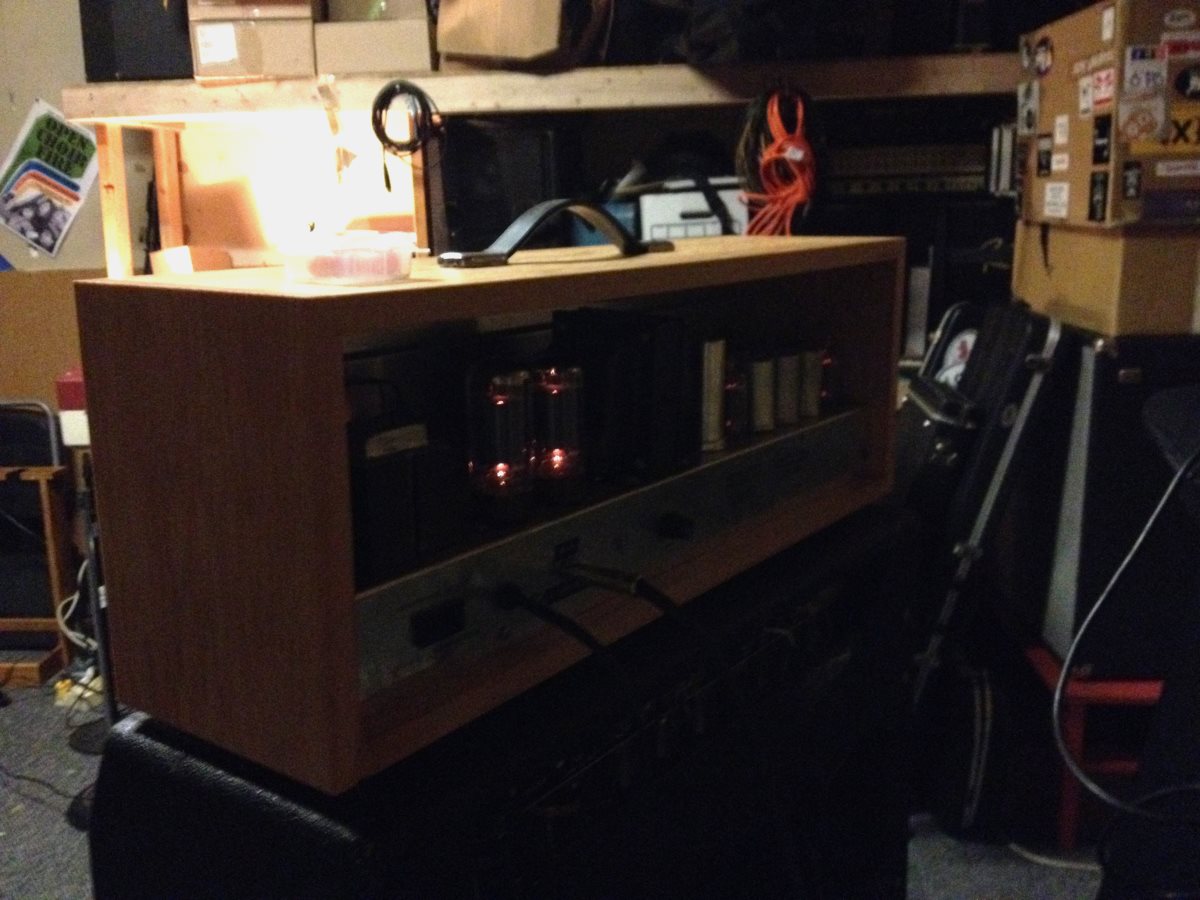
For such a simple project, that’s a lot of pictures.
Things I’m looking out for: vibration at particular frequencies (so far nothing), and chassis expansion when hot. I think there’s enough room in there that it won’t be an issue, but still. That would be lame if the joints failed.
Some links:
- http://dustyoldamp.wordpress.com/category/silvertone/
- Not a 1484, but related, and pretty badass:
http://www.rru.com/~meo/Guitar/Amps/Silvertone1263/